
Checking a tent site for hazards: trees, water, slopes and wind
A practical walk-around for picking a safe tent spot: looking up for dead branches and leaning trees, reading the ground for drainage and flood risk, judging slope and wind exposure, and avoiding wildlife and rockfall areas.
By the CampTier team · Updated 2026-10-15 · About 6 min read
Pick the spot before you pitch
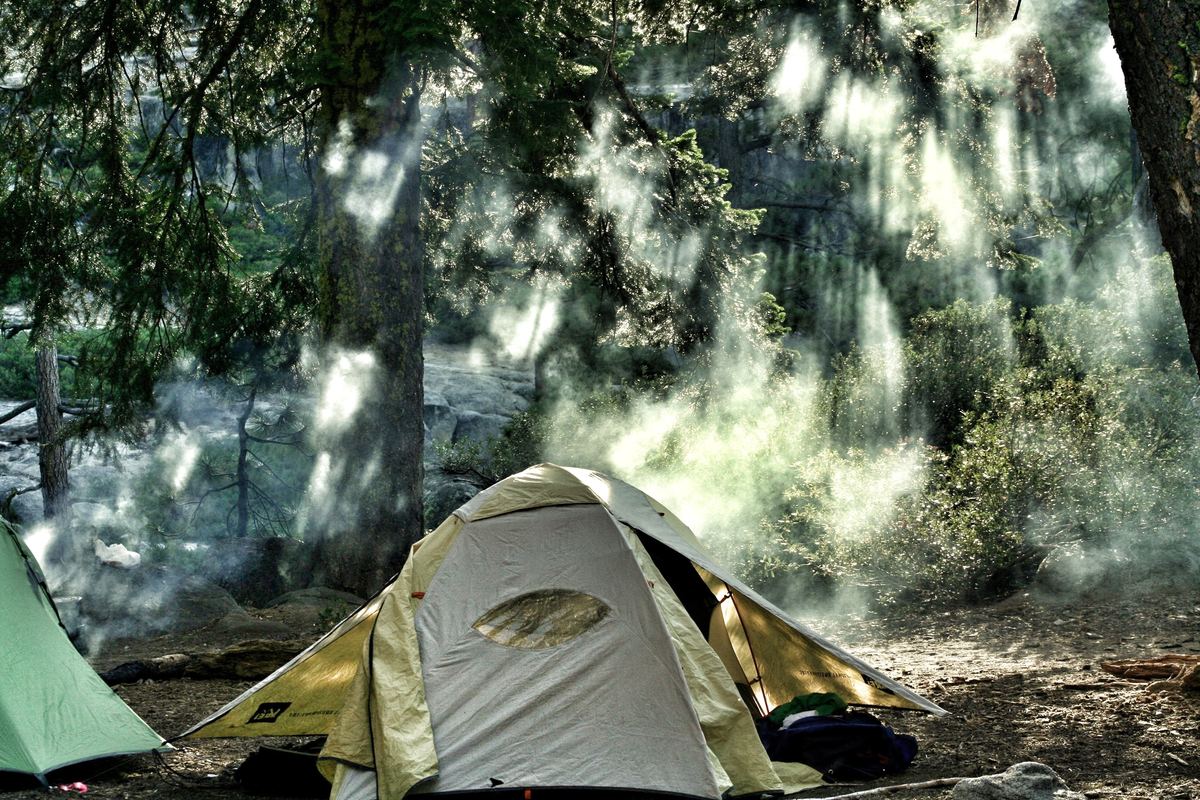
It is tempting to drop the tent on the first flat-looking patch, especially at the end of a long drive or hike. A few minutes spent looking up, around and down before pitching prevents the most common campsite problems: a branch coming down in the night, waking up in a puddle, sliding to one side of the tent, or a fly flapping in wind all night.
This guide is a walk-around routine you can run at any campsite, from a developed campground pad to a backcountry clearing. For the Leave No Trace side of site choice, see choosing a durable surface campsite.
Look up: trees and branches
Falling trees and branches are a real hazard at campsites, especially in wind, after storms, in burned areas and in forests with dead or diseased trees. Foresters sometimes call dead overhead branches "widowmakers."
Before pitching, look directly above and around the tent spot, roughly a tree's height in each direction:
- Dead trees (snags). No needles or leaves in season, bark peeling off, or a hollow, cracked trunk.
- Dead branches hanging in the canopy or caught in other branches.
- Leaning trees, especially those with lifted roots or cracked soil at the base.
- Burned trees. Fire-damaged trees can fall without warning, even years later.
- Trees with large wounds, fungus or splits in the trunk.
If you see any of these over your spot, move. In windy forecasts, pitch in more open ground with fewer trees directly overhead, while staying sheltered from the worst gusts.
Look down: drainage and water
Even a gentle rain can turn a flat-looking spot into a pond.
- Avoid low spots and depressions, where water collects.
- Check for drainage paths. Lines of debris, flattened grass, bare channels or silt suggest water flows there in rain.
- Stay off dry streambeds and washes, which can flood quickly, especially in deserts and canyons, even if it is not raining where you are. See desert camping basics.
- Keep back from lakes and streams. Leave No Trace practice is to camp at least 200 feet from water, which also helps keep you out of rising water and reduces condensation.
- Prefer slightly raised, well-drained ground with natural absorbent surfaces like duff or gravel.
On developed sites with tent pads, the pad is usually designed to drain. Use it. More rain tactics are in pitching a tent in rain.
Feel the slope
Lie down on the spot before you pitch, ideally on your sleeping pad. A slope you can't see often becomes obvious when you are on your back.
- Sleep with your head uphill.
- Avoid side slopes, which roll you into the tent wall all night.
- Clear sticks, pine cones and rocks from the footprint area, but avoid digging or leveling the ground.
Read the wind
Wind direction and exposure affect comfort and safety.
- Open ridges, saddles and lakeshores often catch strong winds.
- Natural windbreaks such as boulders, low shrubs or a band of healthy trees can shelter a tent.
- Orient the tent so its narrowest, lowest profile faces the wind. Many campers point the back or a narrow end into the wind and keep the door downwind. Follow your tent maker's advice.
- Check the forecast for wind direction changes overnight.
Our guide to pitching a tent in wind covers staking and guying in exposed sites, and storm guyline and tent prep explains a pre-storm routine.
Lightning exposure
In thunderstorm-prone areas, avoid camping on summits, exposed ridges, open meadows where your tent is the tallest object, and beneath isolated tall trees. Lower, forested areas with uniform tree height are generally less exposed. There is no completely safe place outdoors in a thunderstorm; see thunderstorm and lightning safety at camp for more detail.
Rockfall and avalanche terrain
Below cliffs and steep, rocky slopes, look for fresh rock debris, broken branches or scarred trees, which can indicate rockfall paths. In winter and spring mountain trips, avoid camping in avalanche run-outs. Recognizing avalanche terrain is a specialist skill; take an avalanche course before winter backcountry trips. See pitching a tent on snow.
Wildlife and insects
- Avoid camping on obvious game trails or near animal dens.
- In bear country, set your cooking and food storage area well away from your tent, following local rules. See bear bag and food storage.
- Check for ant mounds, wasp nests and standing water that breeds mosquitoes.
- Low, damp spots near still water often have more bugs; a breezy spot has fewer.
Neighbors and campsite features
At developed campgrounds, also check:
- Distance from the fire ring; keep the tent upwind and at a safe distance from sparks. See building a safe campfire.
- Paths other campers use to reach toilets and water, which can mean flashlights and footsteps past your tent all night.
- Distance from parking spots, where headlights can shine into the tent.
Walk-around checklist
- Look up: dead trees, branches, leaning or burned trees
- Look down: low spots, drainage paths, washes
- Lie down: slope and lumps
- Feel the wind: exposure and direction
- Think weather: lightning, rising water
- Look around: rockfall, wildlife, insects, fire ring, paths
- Pitch with the door away from wind and toward the morning view if conditions allow
Bottom line
The safest, most comfortable tent site is usually found with a two-minute walk-around before you unpack. Look up for hazard trees, down for drainage, feel the slope and wind, and move if anything looks wrong. Then follow how to set up a tent for the pitch itself.
Check the plants at ground level
While you are looking down for drainage, also look at what is growing around the tent spot and the paths you will use. Poison ivy, poison oak and poison sumac often grow at the edges of clearings and along trails, and many people react to them. Learn what grows in your region and keep the tent, chairs and the route to the toilet away from it. See avoiding poison ivy, oak and sumac at camp. In deserts and dry grasslands, check for cactus spines, burrs and thorny shrubs that can puncture tent floors and sleeping pads, and look for holes and burrows that can mean ants, rodents or other animals nearby.
Sites without pads or markers
At dispersed sites on public land, there are no tent pads, numbered posts or drainage built in, so the walk-around matters even more. Use an existing, already-bare site where possible, and check the ground, trees and water paths carefully before you unpack. Our guide to dispersed camping basics on public land covers rules and site choice.
Re-check when conditions change
A site that looked fine in the afternoon can change after dark or in bad weather. If you arrive late, do a short walk-around with a headlamp and then look again in the morning light. Our guide to setting up camp after dark has tips. If wind picks up or a storm is forecast overnight, look up at the trees again and decide early whether to move, rather than waiting until the middle of the night.
Filter tents by spec → Compare up to 3 →
Related guides
- Flash flood safety for campers and hikers
- Dispersed camping basics: camping on public land outside campgrounds
- Avoiding poison ivy, poison oak and poison sumac at camp
- How to Set Up a Tent the First Time
- Choosing a durable-surface campsite
General guidance from CampTier, based on manufacturer instructions and common outdoor practice. We don’t claim hands-on testing. Always follow your gear maker’s care and safety instructions. See our safety notes.