
How to Set Up a Tent the First Time
A calm, step-by-step freestanding tent pitch for first-timers: site choice, poles, rainfly, stakes and guy lines—plus a practice run before the trip.
By the CampTier team · Updated 2026-10-15 · About 5 min read
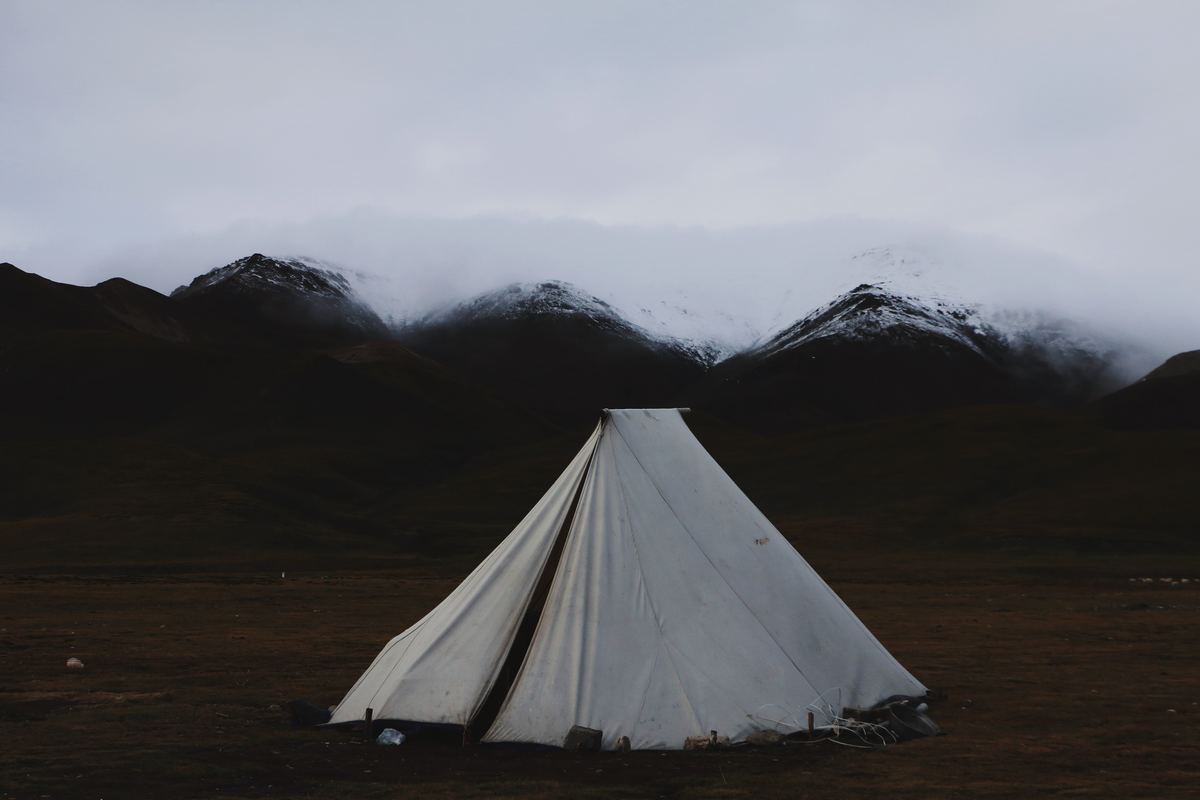
Practice once at home
Set the tent up in your yard or living room before the first trip. You’ll learn which pole goes where, how the clips attach, and whether any stakes or guylines are missing—while you can still order replacements. Time yourself. A 4-person car-camping tent often takes 10–20 minutes with two people after one practice.
Pick the spot before you unpack everything
- Look for level ground slightly higher than the surroundings so water drains away.
- Clear rocks, sticks and pinecones that will press through the floor.
- Avoid under dead branches (“widowmakers”) and open ridge tops if a storm is coming.
- Note sun and wind: morning sun helps dry a wet tent; a natural windbreak helps at night.
- Check campground rules for tent pads and quiet hours.
More on site choice: campsite basics.
Footprint first
Lay the footprint or groundsheet, then the tent body on top so the sheet doesn’t stick out past the floor (sticking out collects rain). If you only have a tarp, fold edges under. Details: footprints and groundsheets.
Freestanding pitch, typical sequence
Exact steps vary—your manual wins—but most freestanding domes follow this pattern:
- Spread the inner tent, door facing the direction you want (often away from prevailing wind or toward the picnic table).
- Assemble poles fully before stressing joints. Don’t force bent sections.
- Seat pole ends in the correct grommets or hubs. Color coding helps.
- Raise the structure by clipping the body to the poles, or sliding poles through sleeves, depending on design.
- Stake out the four corners so the floor is taut but not guitar-string tight.
- Throw the rainfly over, align doors/vestibules, attach at corners, then stake the fly and vestibules.
- Add guy lines to the loops on the fly; stake them at about 45° and tension until fabric is smooth without deforming poles.
Two-person tips
One person holds poles while the other clips. Or one works the fly while the other stakes. Keep stakes in a bag so they don’t vanish in grass. A rubber mallet helps on hard campground pads; don’t hammer aluminum stakes sideways.
Rainfly orientation
Match vestibule doors to where you’ll cook (outside, never inside the tent) and enter. Pull the fly until seams sit over poles where the brand intends. Loose fly fabric flaps, wears coatings, and leaks.
After it’s up
- Check for fabric sitting in puddles or against sharp stakes.
- Open vents if the design has them—reduces overnight condensation. See ventilation.
- Store food according to local rules (bear box, car, hung bag)—not in the tent vestibule in bear country if regulations say otherwise.
Taking it down
Shake out dirt, wipe floors, collapse poles from the middle outward (brand guidance varies), and don’t long-term store the tent stuffed soaking wet. Dry at home. Care guide: clean and store a tent.
Safety reminders
Never run a fuel stove, grill, heater or fuel lantern inside the tent. Carbon monoxide can kill. Follow the manufacturer’s setup and fire-distance guidance. Our safety notes apply on every trip.
We don’t claim we timed your exact model. Use the brand’s instructions tied to each tent on Tents.
Before you leave home: a tent kit check
Open the tent bag and check:
- Every pole section present, shock cord intact, no cracks at joints.
- The correct number of stakes, plus a few spares.
- Guy lines attached or bundled in the bag.
- The rainfly, inner tent and any footprint.
- A pole repair sleeve if the brand includes one.
- The setup instructions (take a photo of them on your phone).
Also pack a small kit: a mallet, a stake puller or hook, a microfiber towel and a small brush or dustpan for sweeping out the floor.
Arrive with daylight to spare
Setting up for the first time in the dark is the most common way a good trip turns stressful. Plan to arrive with at least an hour of daylight, more for a large cabin tent. If you’re going to be late, practice at home until you can pitch the tent by headlamp.
Staking basics
- Push stakes in at about a 45° angle, leaning away from the tent.
- Leave enough of the stake above ground to hook and pull out later.
- Step on stakes or use a mallet; don’t pound on the hook end so hard you bend it.
- If you hit a rock, try a few inches over instead of forcing it.
Tensioning the rainfly
A properly tensioned fly sheds water and wind and keeps air moving between fly and inner. Most flies have adjustable straps at each corner. Snug them evenly, then retension after 20–30 minutes because fabric relaxes, especially when it’s damp or cooling down in the evening.
Setting up with kids
Kids can help sort poles by color, carry stakes, hold the door upright and test the zippers. Give each child one job. Keep them clear of tensioned poles while they’re being seated, since a pole that slips can snap back.
Common first-timer mistakes
- Fly on backward. Line up the fly doors with the tent doors. Many flies have a colored tab or label that matches a corner of the tent.
- Pole ends not seated. If the tent looks lopsided, check that every pole tip is fully in its grommet or pocket.
- No guy lines. They feel optional until midnight wind. Use them.
- Pitched in a dip. If rain starts, you’ll be in a puddle. Move before you unpack.
- Food inside. It attracts animals, from mice to bears. Follow local food-storage rules.
When you get home
Dry the tent completely, even if it seemed dry when you packed it. Morning dew counts. Then store it loosely in a cool, dry place. Our tent cleaning and storage guide covers this step by step.
Lighting for a setup after dark
If you arrive late, a headlamp leaves both hands free for poles and clips. Set a lantern on the ground nearby to light the whole area, and keep spare batteries in the tent bag. See how to choose a headlamp.
Filter tents by spec → Compare up to 3 →
Related guides
- How to Choose and Set Up a Campsite
- How to Pitch a Tent in Wind
- How to Pitch a Tent in the Rain
- Freestanding and Non-Freestanding Tents: Which Design Fits Your Trip
General guidance from CampTier, based on manufacturer instructions and common outdoor practice. We don’t claim hands-on testing. Always follow your gear maker’s care and safety instructions. See our safety notes.