
Freestanding and Non-Freestanding Tents: Which Design Fits Your Trip
Freestanding tents stand up before you stake them; non-freestanding tents need stakes or attachments to take shape. Here’s when each design makes sense.
By the CampTier team · Updated 2026-10-15 · About 5 min read
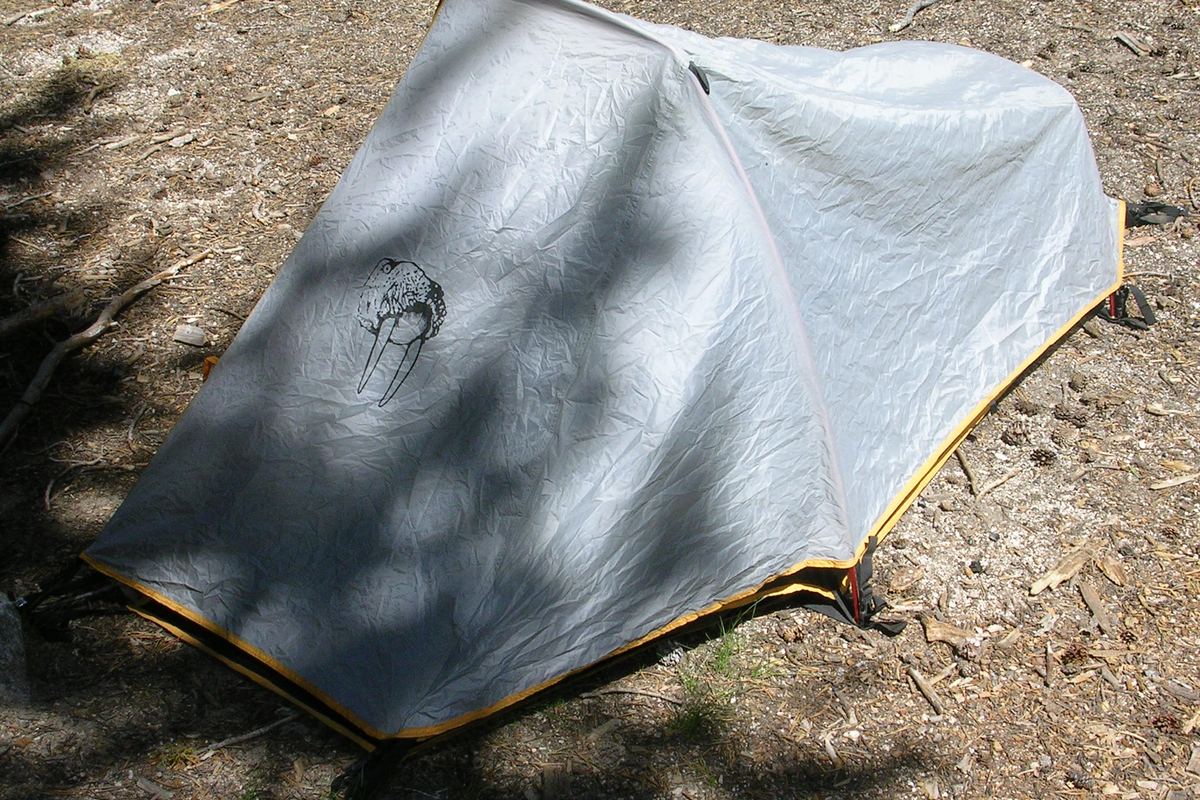
Freestanding, in plain language
A freestanding tent’s poles create a self-supporting structure. You can assemble the tent on a picnic table, move it a few feet to dodge a root, and it will hold its shape before a single stake goes in. Stakes and guy lines still matter—they keep the tent from sliding and hold the rainfly taut—but they aren’t required for the tent to “be a tent.”
Most family car-camping domes and many backpacking tents are freestanding. You’ll see them throughout our tents list.
Non-freestanding tents need anchors
A non-freestanding (or “semi-freestanding”) tent relies on stakes, trekking poles, or other anchors to create tension and shape. Classic examples: many ultralight tarp-tents, some tunnel tents, and shelters that use hiking poles as the main uprights.
Pros: often lighter and more packable for the floor area. Cons: setup is less forgiving on rock, sand, or packed gravel where stakes won’t hold, and you can’t easily pick the tent up and scoot it.
Semi-freestanding: the common middle ground
Many “2-person freestanding” backpacking tents are semi-freestanding: the main body stands, but the foot end or vestibule needs staking to reach full volume. Read the manual. If the brand says you must stake the corners for proper pitch, believe them—even if the tent looks freestanding in the store photo.
When freestanding wins for car camping
Choose freestanding when:
- You camp on hard campground pads where stakes struggle.
- You want to pitch under a picnic shelter or on a deck temporarily (stakes still recommended outdoors).
- Multiple people share setup duty and you want a foolproof sequence.
- You move the tent after a bad first pitch (roots, slope, puddles).
When non-freestanding can make sense
Consider non-freestanding or trekking-pole shelters when:
- Packed weight and size dominate (serious backpacking).
- You already carry trekking poles.
- You know how to use deadman anchors in sand or snow.
For a first family tent, freestanding is almost always the less stressful choice. Save ultralight non-freestanding designs for later.
Stakes still aren’t optional
Even freestanding tents need staking in any real wind. An unstaked freestanding tent is a kite. Use the included stakes on soft ground; upgrade to longer or screw stakes for sand, and rock or deadman anchors when soil won’t take a stake. See pitching in wind.
Setup implications
Freestanding setup usually goes: lay out body → insert poles → raise → stake corners → add fly → guy out. Non-freestanding often requires staking the floor outline first, then building tension. Practice the exact sequence from your manual once in the yard. Our setup guide covers the freestanding case most car campers meet.
How to check on CampTier
Product pages don’t always put “freestanding” in a clear spec field. Read the brand’s description and setup notes linked from each “Check price” button on Tents. Prefer designs with clear pole architecture if you’re new. Specs we list (capacity, seasons, floor area, weight, packed size, doors) come from official pages only.
The hidden cost of “easy”
Freestanding tents are easier to pitch, but they usually carry more pole weight, because the poles must do all the work of holding the shape. For car camping that extra weight hardly matters. For backpacking, some people accept a little setup fuss in exchange for a lighter pack.
Pole hubs, clips and sleeves
How a freestanding tent attaches to its poles changes how setup feels:
- Clips snap the inner tent onto poles after the poles are seated. Fast and good in rain, because the inner can go up under a fly in some designs.
- Sleeves are fabric tunnels the poles slide through. They spread loads evenly and can be strong in wind, but feeding poles through a sleeve is slower, especially when the fabric is wet.
- Hubbed pole sets connect several poles at a central joint so the frame unfolds as one piece. They’re fast and help avoid putting the wrong pole in the wrong place.
None of these is wrong. Practice with whichever your tent uses.
Campground realities
Many U.S. campgrounds have gravel or compacted tent pads. Standard thin stakes may bend or refuse to go in. A freestanding tent lets you pitch the body and fly first and then work harder on the stakes, rather than needing every stake perfect before the tent takes shape. Bring a mallet, a few sturdier stakes and a stake puller.
On wooden platforms, which are common in some state parks and backcountry sites, you’ll need cord to tie off to the platform’s edges or eye bolts. A freestanding tent is a big help here.
Common mistakes
- Skipping stakes on a calm afternoon. Wind can come up quickly, and an empty freestanding tent can roll or blow away.
- Over-tensioning corners. Stake the floor taut but don’t stretch it so hard the poles bow out of shape.
- Lifting a tent by its poles to move it. Lift by the floor or the pole junction gently and keep the stakes out first. Twisting poles while moving can crack them.
- Ignoring the vestibule stake. Many freestanding tents still need stakes for the vestibule to open fully and keep rain off the door.
Which should a beginner buy?
For a first car-camping tent, a fully freestanding dome or cabin tent with clear, color-coded poles is the easiest to live with. Once you know you love backpacking and want to save weight, trekking-pole shelters and other non-freestanding designs are worth a look.
Browse freestanding car-camping tents by capacity, floor area and packed size on our tents page, then confirm the design details on the brand’s page.
Freestanding tents still need stakes
Even a fully freestanding tent can blow away when empty. Stake the corners and guy out the fly. A freestanding design means you can move it easily before staking, not that it doesn’t need anchoring.
Moving a pitched tent
One real advantage of a freestanding tent is that you can pick it up and move it after pitching, for example to shift it off a root or into shade. Remove gear first, pull the stakes, and lift it by the pole frame, not by the fabric.
Filter tents by spec → Compare up to 3 →
Related guides
- How to Choose a Camping Tent by Capacity
- How to Set Up a Tent the First Time
- How to Pitch a Tent in Wind
- How to Choose and Set Up a Campsite
General guidance from CampTier, based on manufacturer instructions and common outdoor practice. We don’t claim hands-on testing. Always follow your gear maker’s care and safety instructions. See our safety notes.