
How to Set Up a Camp Tarp
Ridgelines, simple knots, and three reliable tarp pitches for rain, sun and wind, plus how a tarp extends your tent and camp kitchen.
By the CampTier team · Updated 2026-10-15 · About 5 min read
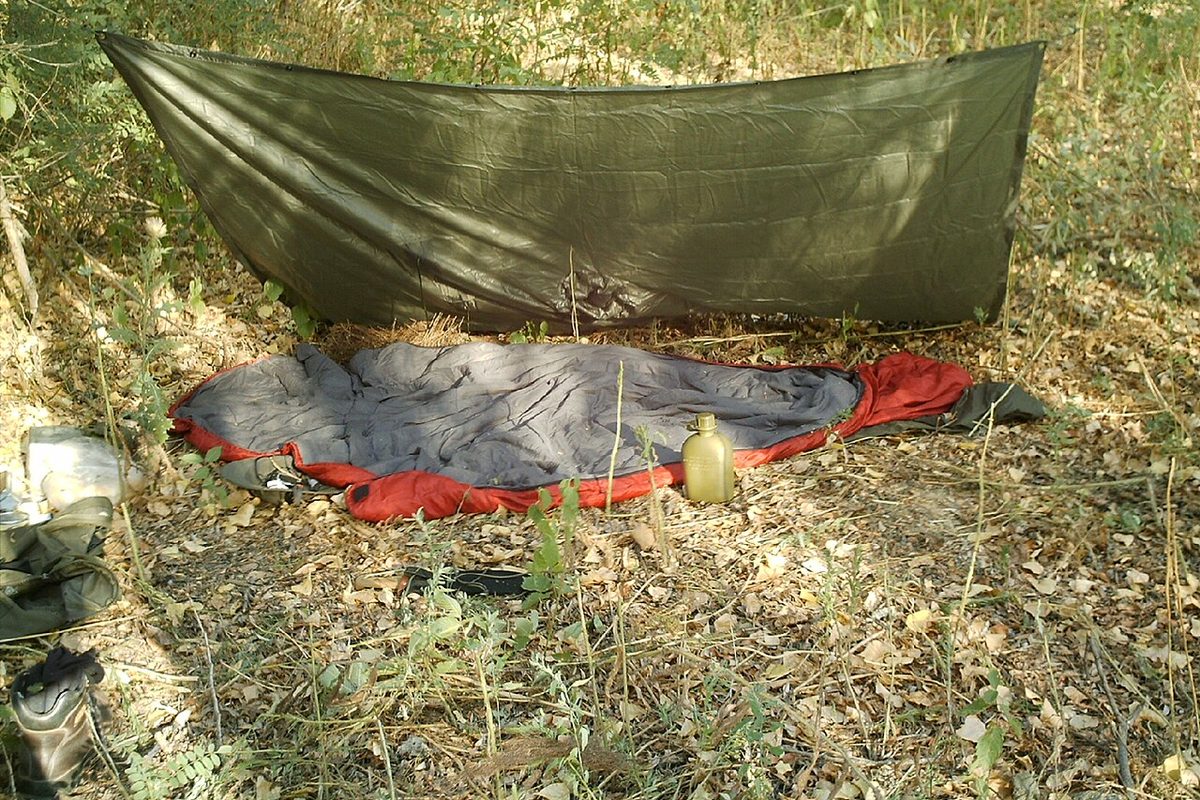
Why a tarp earns its place
A simple tarp is one of the most useful pieces of camping gear. Over a picnic table it becomes a dry kitchen. Over a tent door it becomes a porch for wet boots. Over a hammock it is the roof. On a hot day it is shade. It is also forgiving: a few knots and some cord cover most situations. This guide covers the basics of materials, ridgelines, knots and a handful of reliable pitches.
Tarp materials, in plain terms
- Polyethylene "hardware store" tarps are heavy, noisy and bulky, but tough and easy to find. Fine for car camping and kitchen shelters.
- Coated nylon or polyester camping tarps are lighter and pack smaller. Many have reinforced tie-out points around the edges and along the centerline. Polyester tends to sag less when wet than nylon.
- Lightweight technical tarps made from very thin laminated fabrics are popular with backpackers. They pack tiny but can cost more and need careful handling.
Whatever you use, look at the tie-out points. Grommets on cheap tarps can tear out under load; sewn loops on camping tarps are stronger. More tie-outs give you more pitch options.
What else you need
- About 50 feet of cord for a ridgeline (more for wide spans between trees)
- Several shorter guylines for the corners and edges
- Stakes suited to the ground (see our wind pitching guide for stake choices)
- One or two poles if there are no trees: trekking poles, tent poles or dedicated tarp poles
- Optional: line tensioners or small toggles, which make adjusting easier than knots alone
Three knots that cover most needs
You do not need to learn dozens of knots. These three handle most tarp setups:
- Bowline. Makes a fixed loop that will not slip. Use it to tie the ridgeline around one tree or to attach a guyline to a tarp loop.
- Taut-line hitch. An adjustable loop. Slide it to tighten or loosen a guyline around a stake. It is the knot most people use for tent and tarp guylines.
- Trucker's hitch. Gives you mechanical advantage to tension a ridgeline tightly between two trees, and it releases easily.
Practice them at home with the cord you will bring. Tying knots for the first time in rain and fading light is frustrating. A slipped half hitch, which pulls free with one tug, is a good finishing touch when you want quick take-down.
Step one: the ridgeline
Most tarp pitches start with a ridgeline, a tight line between two trees (or poles) that the tarp hangs from or drapes over.
- Tie one end around a tree with a bowline at the height you want.
- Run the cord to the second tree, wrap it, and tension it with a trucker's hitch.
- Drape the tarp over the line, or clip its centerline loops to the ridgeline, so it sits evenly.
Wide tree-friendly straps around the trunk protect bark, just as with hammocks. Check that there are no dead branches overhead before you commit.
Pitch one: the A-frame
The classic. The tarp drapes over the ridgeline, and both long edges are staked out to the sides, forming a roof shape.
- Good for: rain, general shelter, covering a tent or hammock
- How: Stake the four corners out and down at an angle, then add guylines at the side midpoints if your tarp has them. Lower edges shed more weather; higher edges give more headroom and airflow.
Pitch two: the lean-to (or shed roof)
One long edge is raised high on the ridgeline or poles, and the other is staked close to the ground, creating a sloped wall with an open front.
- Good for: wind from one direction, a campfire-facing shelter where fires are permitted (keep the tarp well clear of flames and sparks), a shaded sitting area
- How: Point the low edge toward the wind. Tension the high edge with guylines staked out in front.
Pitch three: the flat or "dining fly"
The tarp is pitched roughly flat over a table or kitchen, with the corners tied up to trees or poles and one corner slightly lower so rain runs off.
- Good for: sun, light rain, a camp kitchen
- How: Raise all four corners, then lower one corner a bit. Without that slope, water pools in the middle and can stretch the fabric or dump on someone. Our camp kitchen basics guide covers kitchen layout under a fly.
Using a tarp with your tent
A tarp pitched over or just beside your tent creates a dry porch where you can take off wet layers and stash boots. It also helps the tent's own fly in heavy rain. Do not pitch a tarp so tightly against the tent that it blocks the tent's vents; trapped air increases condensation. See our ventilation and condensation guide.
Under the tent, a tarp can serve as a groundsheet if it is folded so no edge sticks out past the tent floor. An exposed edge catches rain and funnels it underneath. Our footprint guide explains why.
Rain and wind tips
- Add a drip line on the ridgeline near each tree so water does not run down the cord onto your gear.
- Keep pitches lower in wind. A high, flat tarp catches gusts like a sail.
- Re-tension guylines after the first hour of rain, especially with nylon tarps that stretch when wet.
- Never put a fuel-burning stove, heater or lantern in a fully enclosed tarp shelter. Keep at least two sides open for airflow.
- Keep tarps well away from campfires; most tarp fabrics melt or burn.
Take-down and care
Untie the guylines first, then the ridgeline. Shake off water and debris. If the tarp is wet when you pack, unpack and dry it fully at home before storage, the same rule as for tents in our tent cleaning and storage guide. Coil cords neatly or use a cord winder so they do not tangle next time.
Common mistakes
- Pitching flat with no slope, so water pools
- Running the ridgeline too loose, so the tarp sags
- Using grommets on a cheap tarp as the only anchor in high wind
- Forgetting drip lines
- Blocking tent vents with the tarp
Bottom line
A tarp, a ridgeline and three knots solve a surprising number of camp problems. Practice an A-frame and a lean-to in a yard or park before the trip, and bring more cord than you think you need.
Filter tents by spec → Compare up to 3 →
Related guides
- How to Pitch a Tent in the Rain
- How to Pitch a Tent in Wind
- Rain Gear for Camping
- Hammock Camping Basics
- Camp Kitchen Basics: Stoves, Cooking and Cleanup
General guidance from CampTier, based on manufacturer instructions and common outdoor practice. We don’t claim hands-on testing. Always follow your gear maker’s care and safety instructions. See our safety notes.