
Snowshoeing basics for winter hikes
A beginner's guide to snowshoeing on winter hikes: when snowshoes help, types and sizing, bindings and heel lifts, boots and gaiters, poles, layering, walking technique on flats and hills, trail etiquette, avalanche awareness, daylight and safety, and caring for snowshoes.
By the CampTier team · Updated 2026-10-15 · About 5 min read
Why try snowshoeing
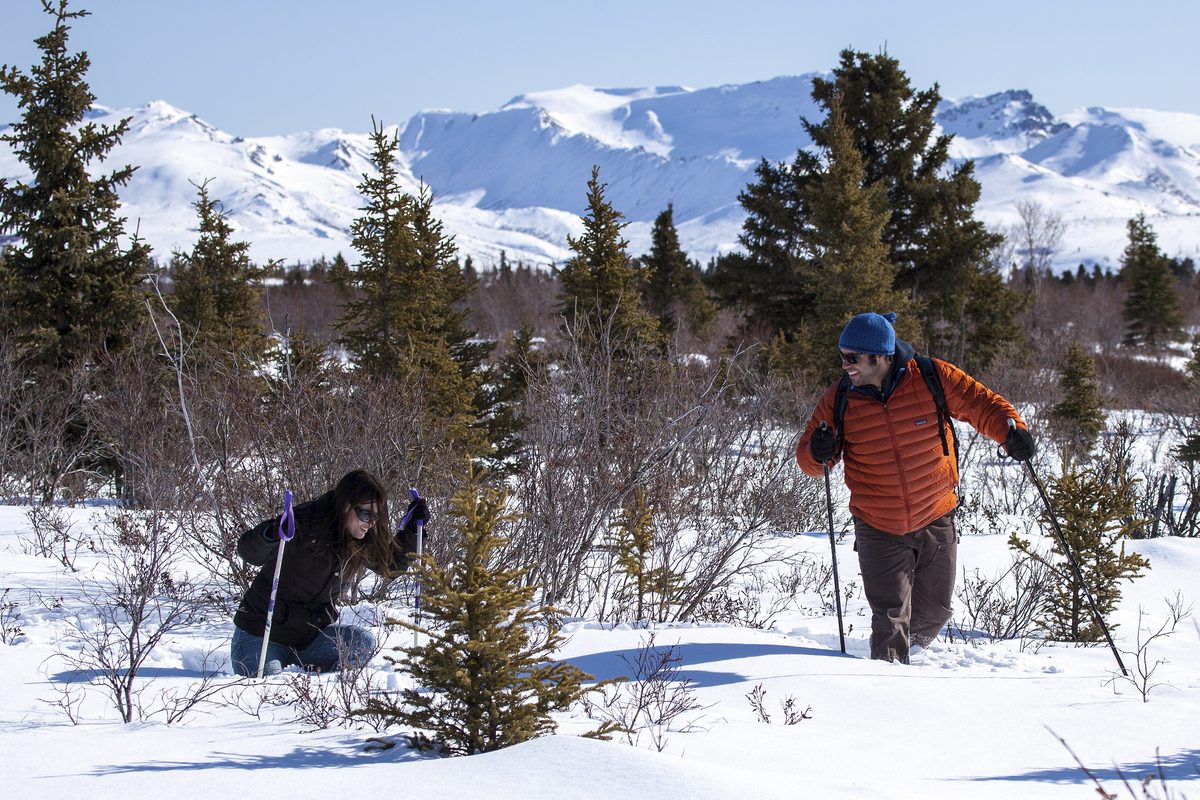
Snowshoeing is one of the easiest ways to keep hiking when trails are buried in snow. If you can walk, you can snowshoe, and a first outing needs little more than rented snowshoes, warm layers and a pair of poles. Snowshoes spread your weight over a larger area so you sink less in soft snow, which turns an exhausting posthole slog into a steady walk through quiet winter woods.
This guide covers the basics for winter day hikes: choosing and fitting snowshoes, what to wear, how to walk on different terrain and how to stay safe. It is general guidance, so check local conditions and rules before you go.
When snowshoes help (and when they don't)
Snowshoes shine in soft, deep snow where boots alone sink to the shin or knee. On a packed, well-traveled trail or on ice, they are often unnecessary and can feel clumsy, and slip-on traction devices may work better. Many winter hikers carry both and switch as conditions change. See hiking on icy trails with traction devices for the firmer end of the spectrum.
A simple rule of thumb: if you are sinking more than a few inches with each step, snowshoes will probably make the hike easier and more enjoyable.
Types of snowshoes
Snowshoes are often grouped by the terrain they are designed for:
- Flat or recreational snowshoes suit gentle, rolling trails and groomed paths. They are usually simpler, lighter and less expensive.
- Rolling or hiking snowshoes handle moderate hills and varied terrain, with more aggressive traction underfoot.
- Mountain or backcountry snowshoes have stronger crampons, side rails and heel lifts for steep climbs, traverses and icy slopes.
For a first outing, renting is a good way to try snowshoeing before buying. Many outdoor shops, ski areas and some state and national park visitor centers rent snowshoes or offer ranger-led snowshoe walks.
Sizing and fit
Snowshoe size depends on your weight plus the weight of your pack and clothing, as well as the snow you expect. Makers publish load ranges for each size. Bigger snowshoes float better in light, powdery snow, while smaller ones are easier to maneuver on packed trails and in trees. If you are between sizes, think about the conditions you will meet most often.
Bindings should hold your boot securely without pinching. Try them on with the boots you plan to wear, and practice tightening and releasing the straps with gloves on, since cold fingers make fiddly buckles frustrating.
Bindings, crampons and heel lifts
Most modern snowshoes have a toe crampon under the ball of the foot and often extra teeth or rails along the frame. These bite into firm snow and help on slopes. A heel lift, also called a climbing bar, is a wire bar that flips up under your heel on steep climbs, reducing calf strain. Practice raising and lowering it with a pole tip so you do not have to bend down each time.
Boots, gaiters and socks
You can snowshoe in insulated winter boots or in waterproof hiking boots with warm socks for milder days. Avoid cotton socks, which hold moisture. Gaiters keep snow from packing into the tops of your boots and soaking your socks; see choosing gaiters for hiking and waterproof hiking boots.
Poles help a lot
Trekking poles add balance on uneven snow, help you push uphill and steady you on descents. Swap small summer baskets for larger snow baskets so the poles do not plunge deep into soft snow. See choosing trekking pole tips and baskets.
Dressing in layers
Snowshoeing is warm work. Many beginners overdress at the trailhead, sweat heavily on the first climb and then get chilled at the first stop. Start slightly cool and add or remove layers as you go:
- A moisture-wicking base layer next to the skin
- An insulating mid layer such as fleece or a light synthetic jacket
- A windproof, water-resistant shell
- A warm puffy jacket in your pack for breaks
- A hat, a neck gaiter and gloves, with spare mittens
See layering for camping and glove and mitten layering for cold camps. Learn the early signs of cold stress too, covered in recognizing and preventing hypothermia at camp.
Walking technique
On flat ground, walk with a slightly wider stance than normal so the snowshoe frames do not clip each other, and lift your feet a little more than usual. Your stride will feel natural after a few minutes.
- Going uphill: kick the toe of the snowshoe into the slope so the crampon bites, use your heel lifts on steeper sections and take shorter steps. On very steep slopes, switchbacks are easier than climbing straight up.
- Going downhill: keep your knees slightly bent, lean back a little and plant your heels first. Poles help with balance.
- Traversing: kick the uphill edge of the snowshoe into the slope. Mountain snowshoes with side rails hold better here.
- Getting up after a fall: roll onto your side, bring the snowshoes under you and use your poles, crossed in an X, as a brace.
Trail etiquette in winter
On shared trails, stay off groomed cross-country ski tracks. Snowshoe prints damage the grooves skiers rely on, so walk beside them or use designated snowshoe trails. Yield to faster users where the trail is narrow, pack out all trash, and keep dogs under control where they are allowed. Our guide to trail etiquette and right of way covers the basics.
Avalanche awareness
Most beginner snowshoe routes stay on gentle, forested terrain well away from avalanche paths. Avalanches are most common on open slopes of roughly 30 to 45 degrees, but they can run far onto flatter ground below. If a route crosses or sits beneath steep open slopes, check the regional avalanche forecast (avalanche.org links to forecast centers in the United States), choose a different route when danger is elevated, and consider an avalanche awareness course before heading into that kind of terrain.
Daylight, water and safety
Winter days are short, and snowshoeing is slower than hiking the same distance in summer. Plan a turnaround time, carry a headlamp and leave your plans with someone at home. Insulated bottles keep water from freezing, and warm drinks and snacks keep energy up. Carry a map and know how to use it, since snow can hide trail markers; see map and compass basics. Fresh snow can also fill in your own tracks, so do not rely on following them back.
Caring for snowshoes
After a hike, knock off snow and ice, let snowshoes dry at room temperature and check bindings, straps and crampons for wear or loose fasteners. Store them somewhere dry so metal parts do not rust over the off season, as covered in gear storage between seasons.
Bottom line
Snowshoeing opens up winter trails with very little learning curve. Rent or choose snowshoes that suit your weight and terrain, wear warm, layered clothing and gaiters, bring poles with snow baskets and start on short, gentle routes. Stay off ski tracks, respect avalanche terrain, watch the daylight and enjoy the quiet.
Filter hiking boots by spec → Compare up to 3 →
Related guides
- Hiking on icy trails with traction devices
- How to Choose Hiking Gaiters
- How to Layer Clothing for Camping
- Choosing Trekking Pole Tips and Baskets
- Glove and mitten layering for cold camps
General guidance from CampTier, based on manufacturer instructions and common outdoor practice. We don’t claim hands-on testing. Always follow your gear maker’s care and safety instructions. See our safety notes.