
Choosing Trekking Pole Tips and Baskets
Carbide tips, rubber tips, mud baskets and snow baskets explained—how to match pole accessories to trail surfaces and when to swap them.
By the CampTier team · Updated 2026-10-15 · About 4 min read
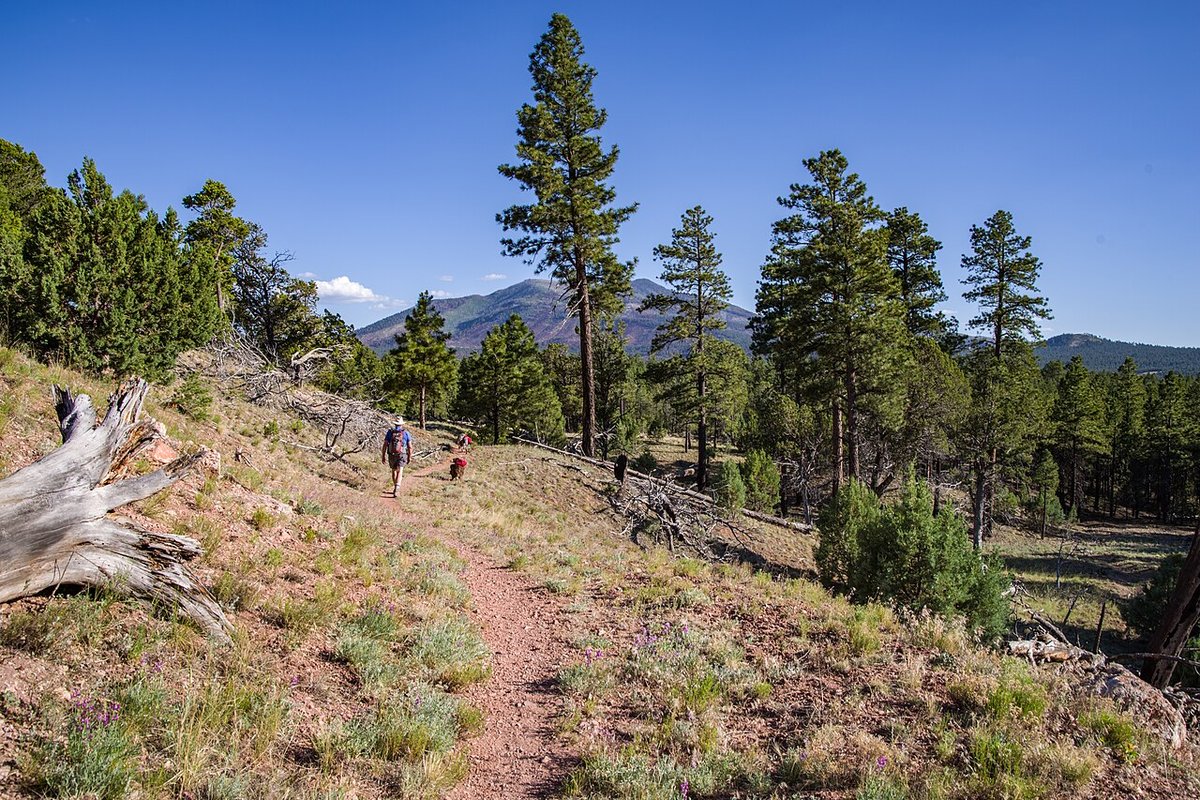
Small parts, big difference
Trekking poles are only as useful as their contact with the ground. Tips and baskets change grip on rock, noise on pavement, flotation in mud or snow, and how quickly carbide wears down. This guide complements trekking poles basics with a focus on the accessories. Follow your pole maker’s compatibility notes—thread patterns and diameters are not universal.
Tips: carbide vs rubber
Carbide (or similar hard metal) tips
Common on trail because they bite into dirt and soft rock. They wear down over miles, especially on granite and pavement. When the tip becomes rounded or the carbide puck falls out, replacement tips restore grip. Carry a spare pair on long trips if your model allows field swaps.
Rubber tips (ferrules)
Slip over the metal tip for hard surfaces: asphalt road walks, granite slabs where carbide sounds like nails on a chalkboard, and indoor storage where metal tips scratch floors. Rubber tips reduce noise and can improve friction on smooth rock for some hikers. They wear and crack; replace when split. Remove them for soft dirt trails if they feel vague or slippery in mud—many hikers swap at the trailhead.
Baskets: why they exist
Baskets stop the pole from plunging deep into soft surfaces. Without a basket, a pole can sink to the forearm in snow or soft mud, which is tiring and occasionally injurious when the basketless pole suddenly sticks.
Mud / trekking baskets
Smaller disks used for general trail work. They help in soft soil and leaf litter without being huge. Many poles ship with these installed.
Snow baskets
Larger disks for snow travel. They provide flotation so each plant does not bury the pole. Using snow baskets on bare summer trail can catch on rocks and roots—swap down when the snow is gone.
Matching conditions
| Surface | Common setup | |---|---| | Dry dirt singletrack | Carbide tip + small mud basket | | Pavement connector | Rubber tip (basket optional) | | Soft mud / spring thaw | Carbide + mud basket | | Snowshoe approach | Carbide or snow-specific tip + snow basket | | Slick wet rock | Often rubber tip; slow down regardless |
Footwear still matters more than baskets on ice; poles are aids, not crampons. See choosing hiking footwear.
How to swap without losing parts
- Change tips and baskets at home the first time so you learn the thread direction.
- Carry tiny parts in a labeled bag; baskets love to roll into leaf litter.
- Do not overtighten plastic baskets to the point of cracking.
- Check maker diagrams—some systems use a different order of washer, basket and tip.
Wear signs
- Carbide puck missing or flush with the shaft end
- Rubber tip holed through
- Basket cracked or missing chunks
- Pole shaft chewing into dirt because the tip is gone
Replace early; a bare shaft end ruins faster and grips worse.
Noise and trail etiquette
Carbide on rock is loud in quiet canyons and campgrounds. Switch to rubber when walking through camp loops at night. Night hikers especially should manage noise and light together—see night hiking with a headlamp.
Packing extras
On weekend trips, one spare rubber pair and one spare carbide pair cover most surprises if they fit your poles. For weekend backpacking, ounces matter—prioritize the tip type you will actually need.
Common mistakes
- Leaving snow baskets on all summer
- Hiking miles of pavement on bare carbide until the tips are ruined
- Mixing brands of tips that almost fit and then strip threads
- Forgetting that wet rubber on wet wood bridges can still slip—slow down
Bottom line
Treat tips and baskets as consumables matched to the day’s surface. Carbide for bite on trail, rubber for hard surfaces and quiet, baskets sized for mud or snow. Check wear before big trips, and practice swaps once at home so trail fixes take minutes, not an hour of dropped parts.
Compatibility and swaps
Confirm diameter and thread style before buying tips. Swap over a lid so parts do not vanish. Dry rubber tips after wet trips so they do not glue onto carbide. Label a parts box between seasons.
Extra practical notes
Rehearse key steps on a low-stakes outing before you need them remotely. Write down what failed and adjust the kit at home. Teach partners the same rules. When manufacturer or land-manager rules are stricter than general advice, follow the stricter requirement. After each trip, dry gear, recharge lights, replace consumables and update your checklist while memory is fresh.
Extra practical notes
Rehearse key steps on a low-stakes outing before you need them remotely. Write down what failed and adjust the kit at home. Teach partners the same rules. When manufacturer or land-manager rules are stricter than general advice, follow the stricter requirement. After each trip, dry gear, recharge lights, replace consumables and update your checklist while memory is fresh.
Extra practical notes
Rehearse key steps on a low-stakes outing before you need them remotely. Write down what failed and adjust the kit at home. Teach partners the same rules. When manufacturer or land-manager rules are stricter than general advice, follow the stricter requirement. After each trip, dry gear, recharge lights, replace consumables and update your checklist while memory is fresh.
Extra practical notes
Rehearse key steps on a low-stakes outing before you need them remotely. Write down what failed and adjust the kit at home. Teach partners the same rules. When manufacturer or land-manager rules are stricter than general advice, follow the stricter requirement. After each trip, dry gear, recharge lights, replace consumables and update your checklist while memory is fresh.
Extra practical notes
Rehearse key steps on a low-stakes outing before you need them remotely. Write down what failed and adjust the kit at home. Teach partners the same rules. When manufacturer or land-manager rules are stricter than general advice, follow the stricter requirement. After each trip, dry gear, recharge lights, replace consumables and update your checklist while memory is fresh.
Filter hiking boots by spec → Compare up to 3 →
Related guides
- Trekking Poles for Camping and Day Hikes
- Choosing Hiking Footwear: Boots, Mid Hikers and Trail Shoes
- How to Break In Hiking Boots Without Blisters
- Night Hiking with a Headlamp
- Weekend Backpacking Packing List
General guidance from CampTier, based on manufacturer instructions and common outdoor practice. We don’t claim hands-on testing. Always follow your gear maker’s care and safety instructions. See our safety notes.