
Drying and airing gear after rain
A practical sequence for drying tents, bags, boots and layers after wet trips—mold prevention, car-packing order and home storage habits.
By the CampTier team · Updated 2026-10-15 · About 4 min read
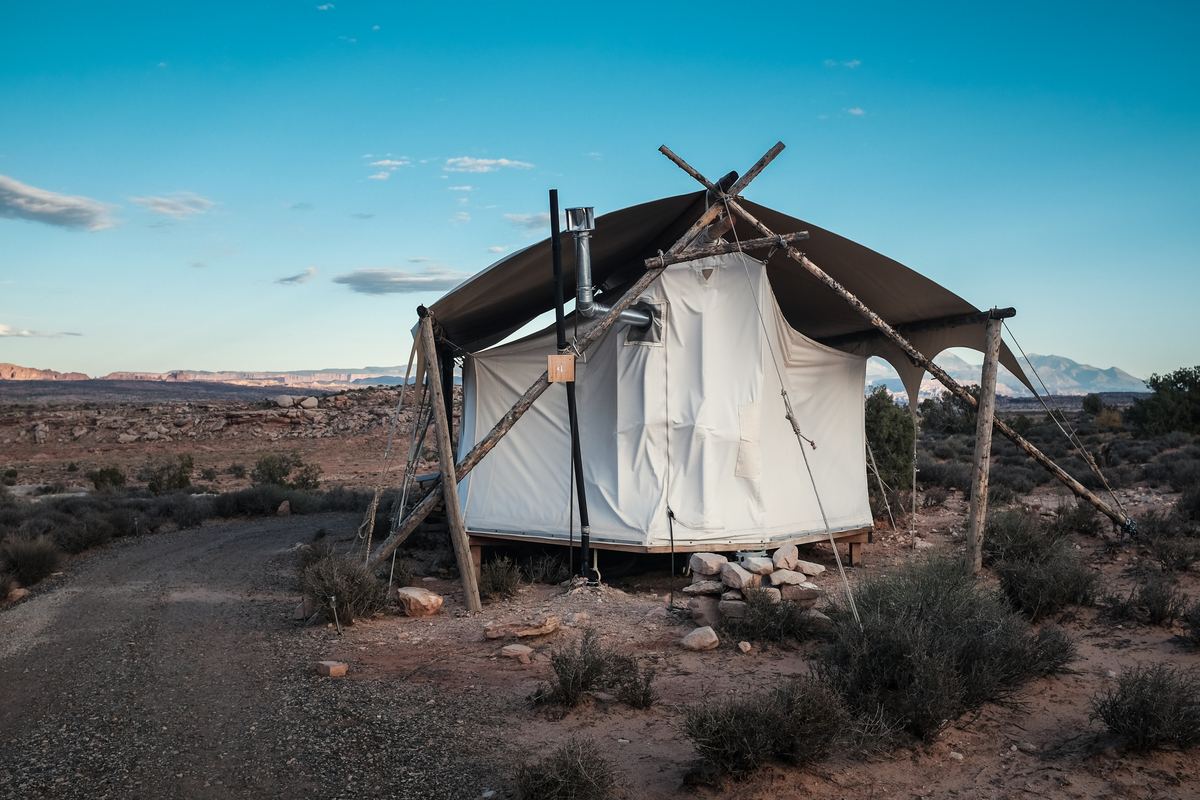
Wet gear in a closed car is how mildew starts
As soon as sun or a covered breeze appears, open the tent, loft the bag and pull moist layers into air. Do not wait until you are home if the drive is long—crack windows and separate soaked items.
Tent sequence
Shake debris, wipe mud, erect or drape until inner and fly feel dry to the touch, then follow clean and store. Seam tape and coatings fail faster when stored wet. Guylines and stakes get their own dry pouch so rust does not stain fabric.
Sleep system
Hang or loosely stuff bags until dry; never long-term compress damp down—pack and store sleeping bags. Pads wipe clean; valves open to air. Liners wash separately.
Boots and layers
Remove insoles, stuff with newspaper overnight, and clean per boot cleaning. Base layers that smell sour need a real wash before season storage. Re-proof shells only when clean and dry—re-waterproofing.
Kitchen textiles
Dish rags and pot bags stay wet longest. Hang them separately so they do not perfume the food tote.
Apartment constraints
Balcony rules and wet basements complicate drying. Use hangers, towels under drips and a fan. If mildew smell appears, clean promptly rather than hoping fragrance sprays fix spores.
Trip-end checklist
- Tent dry before the stuff sack
- Bag lofted at home
- Boots open overnight
- Wet sack emptied and washed
- Repair notes written while memory is fresh
Bottom line
Air gear at the first chance, finish drying at home and store only when truly dry—prevention beats bleaching mildew later.
Prioritize by mold risk
Tents, down bags and closed-cell foam that sat wet in dark stuff sacks come first. Hard pots can wait. Kitchen towels are sneaky— they stay damp and share odor with food totes.
Car triage layout
Roof rack or trunk: wet tent loosely bagged. Cabin: bags lofted across clean seats on towels. Trunk puddles get a cheap plastic liner you can wash. Never trap a soaked fly in a sealed dry bag for the whole drive “to contain water”—you are containing mildew.
UV and heat cautions
Sun helps dry; extreme UV ages coatings. Partial shade with breeze is often enough. Do not bake plastics on a car dashboard until they warp.
Inspection while drying
Look for torn mesh, failed seam tape, broken zipper stops and missing stake loops. Write repairs on your phone before you forget—zipper repair notes help.
Apartment winter drying
Indoor racks, dehumidifier mode on an AC unit and rotating gear every few hours work. Avoid wall contact that traps moisture. If mildew appears, clean per maker guidance; discard gear that remains hazardous to breathe.
End-state storage
Only when bone dry: loose bag storage for down, cool dry closets, silica packs optional. Follow season storage.
Soft goods sorting table
At home, make three piles: dry enough to store, needs more air, needs wash. Do not store the middle pile “for tomorrow” in a closed bin. Set a phone reminder for the evening if you must leave the house.
Zippers and hardware
Dry zippers open and closed a few times to clear grit. Light lubricant only as the maker allows. Rusty stakes get a scrub or retirement before they stain fabric.
Down versus synthetic drying times
Down takes longer to dry fully through baffles. Feel for cold clumps. Synthetic can feel dry on the shell while fiberfill stays damp—give it more time than you think.
Boots as a multi-day project
Insoles out, tongue open, newspaper changes every few hours on day one. Heaters on low and at a distance if used at all—overheating adhesives destroys boots. Confirm fit again after full dry; leather can shrink slightly.
Mental load
Drying gear is chores, not failure. Build it into trip end so it does not compete with unpacking groceries. Households that camp often keep a dedicated drying rack year-round.
Mildew early signs
Musty smell, dark spotting and a clammy feel that returns after short airing are cues to wash and dry more thoroughly. Do not store “a little damp” bags with clean gear. Isolate suspects until they are truly dry.
Loaner and rental gear
If you borrowed a tent, dry it completely before return and be honest about mud. Returning wet gear is how friendships and rental deposits suffer.
Order of operations at the trailhead parking lot
If sun exists even briefly, open the fly on clean grass or a tarp before driving. Ten minutes of breeze there can save hours of apartment drying. Shake sand away from zippers first so you do not grind grit into coils.
Soft cases and wheeled luggage
Car campers who stuff wet tents into wheeled bags create odor chambers. Mesh laundry bags inside the luggage help air move. Remove the tent again at home the same night—do not “deal with it Sunday.”
Documenting damage for replacement
Photos of torn mesh, delaminating floors and broken poles help warranty or insurance talks. Include a scale (coin or ruler) and the site conditions in a note.
Filter tents by spec → Compare up to 3 →
Related guides
- How to Clean and Store a Tent
- How to Store Camping Gear Between Seasons
- How to Pack and Store a Sleeping Bag
- How to Re-Waterproof a Tent and Rain Gear
- How to Clean and Waterproof Hiking Boots
General guidance from CampTier, based on manufacturer instructions and common outdoor practice. We don’t claim hands-on testing. Always follow your gear maker’s care and safety instructions. See our safety notes.