
Crossing streams safely on hikes: when to cross, how to cross, and when to turn back
How to judge and cross streams on hiking and backpacking trips: reading depth and current, choosing a crossing spot, footwear, using trekking poles, crossing as a group, and the signs that mean you should wait or turn back.
By the CampTier team · Updated 2026-10-15 · About 5 min read
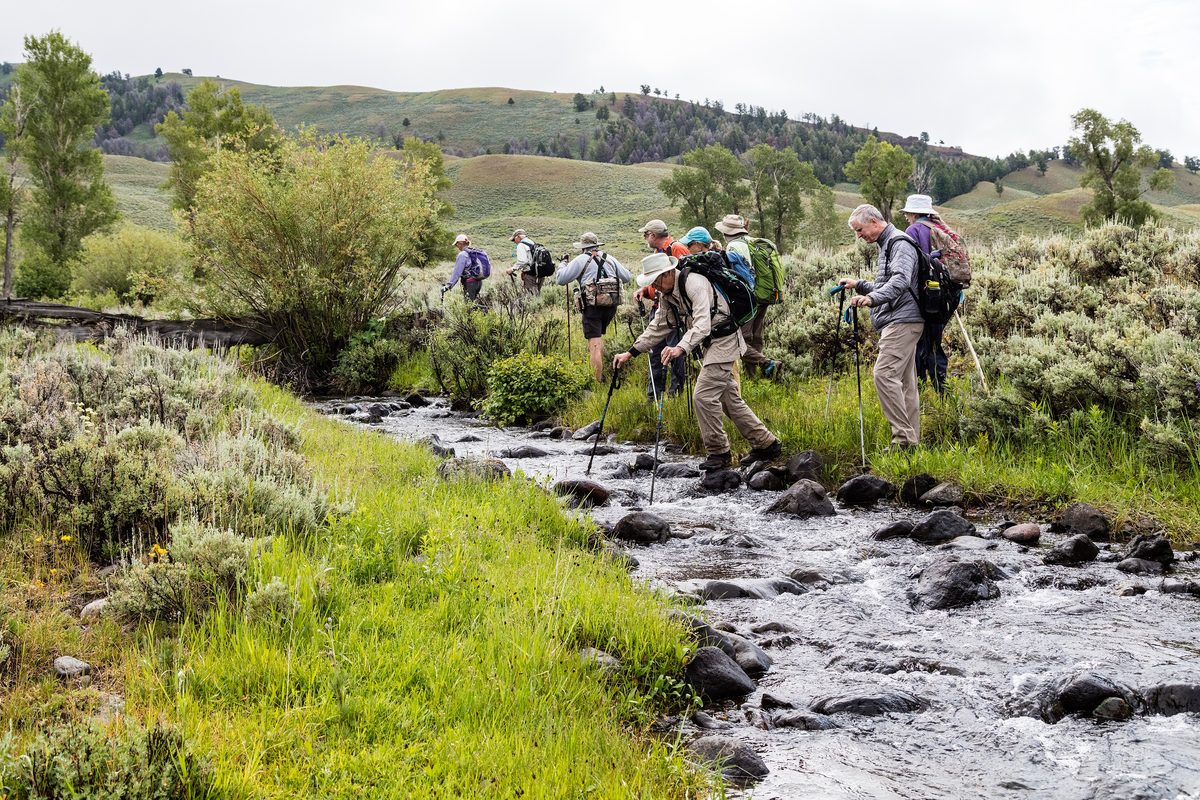
Why stream crossings deserve respect
On many trails, the most dangerous moment of the day is not a cliff edge or a steep descent but a stream crossing. Moving water is deceptively powerful. Knee-deep water flowing quickly can push an adult off balance, and a fall in cold water with a pack on can turn serious fast. Crossings that are an easy rock-hop in late summer can be waist-deep torrents in spring snowmelt or after heavy rain.
Most hikers will only ever need to walk across a few ankle-deep creeks. But knowing how to judge a crossing, and when to say no, is a basic trail skill. This guide covers general practice; local rangers and trail reports are the best source for conditions on specific routes.
Plan crossings before you leave
Look at your route on a topographic map and note where trails cross streams and rivers. Bridges are often marked, but they can wash out. Ask a ranger station or check recent trip reports about current conditions, especially in spring and early summer or after storms. Our guide to reading topographic maps for day hikes explains how to spot drainages.
Remember that snowmelt-fed streams often run lowest in the early morning and highest in the afternoon and evening, after a day of sun melting snow upstream. If a big crossing is on your route, timing it for the morning can make a real difference. Rain upstream can raise water levels even when it is dry where you are.
Judging a crossing
Stop at the bank and take a few minutes to look. Ask:
- How fast is the water? Throw a stick in and watch it. If it moves faster than walking pace, be very cautious.
- How deep is it? Water above the knee in a fast current is a common threshold where many hikers decide not to cross. Clear water often looks shallower than it is.
- What is the bottom like? Sand and small gravel are easier than large, slick, round boulders.
- What is downstream? Look for logjams, waterfalls, deep pools or rapids. Do not cross directly above a hazard where a slip would carry you into it.
- What is the noise? Rolling boulders, a loud roar or muddy, brown water usually mean high, powerful flow.
If you are unsure, it is a no. Walk up or downstream for a better spot, wait for the level to drop, or turn back.
Choosing where to cross
The trail's crossing point is not always the safest spot on a given day. Look for:
- Wide, straight sections where water is spread out and shallower
- Braided channels, where the stream splits into several smaller flows
- A gentle exit on the far bank
Avoid narrow, fast chutes, outside bends where water runs deep, and crossings on slippery logs unless they are broad, stable and low over the water. Log crossings over fast water are a frequent cause of accidents.
Footwear
Crossing barefoot invites cuts, bruised feet and slips on rocks. Options:
- Cross in your hiking boots or trail shoes. Good grip and protection; your feet will be wet, so plan for dry socks. Trail runners and mesh shoes drain faster than waterproof boots. See waterproof hiking boots and choosing hiking footwear.
- Change into camp shoes or sandals. Sandals with heel straps and closed-toe water shoes work; flip-flops do not. See choosing camp shoes for around camp.
- Remove socks, then put boots back on. A common compromise: dry socks after, wet boots that drain while walking.
How to cross
- Prepare at the bank. Secure loose gear, put phone and map in a waterproof bag, and stow anything you don't want to lose.
- Unbuckle your hip belt and sternum strap, or loosen them, so you can slip free of the pack if you fall. Check your pack maker's advice; some recommend keeping the hip belt loose rather than open.
- Use poles or a sturdy stick. Two points of contact plus your feet give stability. Plant the pole upstream and lean slightly into it. See trekking poles basics.
- Face upstream or angle across. Face into the current at a slight angle, shuffling sideways. Move one point of contact at a time, keeping two solidly planted.
- Shuffle, don't step. Slide your feet along the bottom to feel for rocks and holes. Don't jump between slick rocks.
- Look at the far bank, not the water. Staring at moving water can be disorienting.
Crossing as a group
Groups can support each other in moderate currents. One common technique is to link arms, with the strongest person upstream breaking the current. Another is a line facing the far bank with each person holding the pack of the person in front. Practice in calm water first if you plan to use these methods. Decide who crosses first and where others will stand to help. Children and smaller hikers need extra caution; for many family trips, the right choice is a route without significant crossings.
If you fall
If you are swept off your feet, get out of your pack if it is pulling you under, roll onto your back with your feet pointing downstream and near the surface to fend off rocks, and work toward the bank at an angle. Do not try to stand up in fast water, where a foot can become trapped between rocks. This is why crossing above hazards is so dangerous.
After any wet crossing in cold weather, change into dry layers promptly, eat and drink something warm and watch for signs of hypothermia. See layering for camping and camp first-aid kit basics.
When to turn back
- Water is above the knee and moving quickly
- You can hear rocks rolling
- There is a hazard just downstream
- Anyone in the group is not confident
- Water levels are rising
Waiting a few hours, camping on the near side for a morning crossing, or choosing another route are all good decisions. Make sure someone at home knows your plan and a turnaround point. See planning your first backpacking overnight.
Checklist
- Crossings identified on the map before the trip
- Current conditions checked with rangers or reports
- Morning timing for snowmelt streams
- Waterproof bags for phone, map and spare layers
- Crossing footwear plan and dry socks
- Trekking poles
- Turnaround rule agreed
Bottom line
Most stream crossings are easy, but the hard ones can be dangerous. Scout before you step in, choose the crossing spot carefully, use poles and good footwear, and be willing to wait or turn back. No destination is worth a swim in fast, cold water.
Filter hiking boots by spec → Compare up to 3 →
Related guides
- Flash flood safety for campers and hikers
- Hiking coastal trails and reading tide tables
- Choosing Hiking Footwear: Boots, Mid Hikers and Trail Shoes
- Trekking Poles for Camping and Day Hikes
- Choosing camp shoes for around camp
General guidance from CampTier, based on manufacturer instructions and common outdoor practice. We don’t claim hands-on testing. Always follow your gear maker’s care and safety instructions. See our safety notes.