
Choosing Camp Cookware
Pots, pans, nesting sets, materials and sizes for car camping and backpacking kitchens—how to match cookware to your stove, group size and cleanup reality.
By the CampTier team · Updated 2026-10-15 · About 5 min read
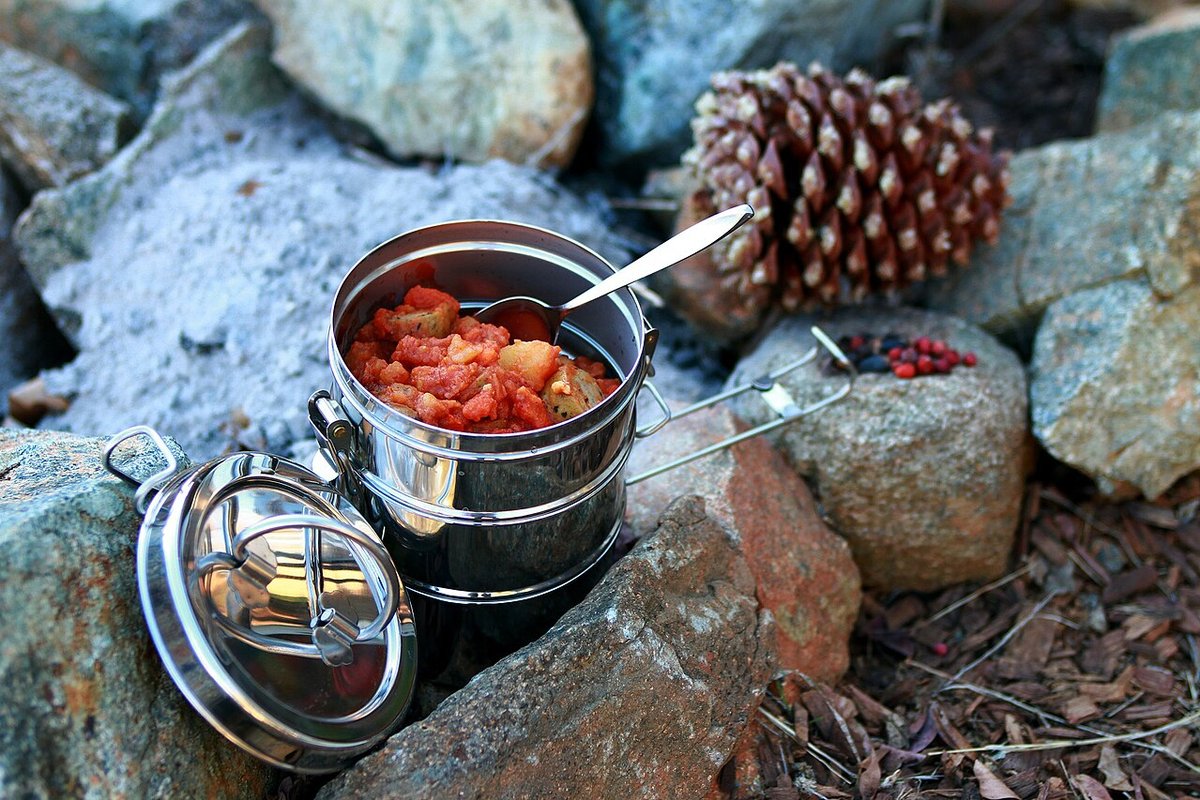
Cookware shapes the whole camp meal
Your stove decides how you heat food; your cookware decides how easily you boil, simmer, fry and clean up. The right set for a solo backpacker is wrong for a family car camp, and cast iron that shines at a drive-up site is miserable on a long trail. This guide helps you match pots and pans to how you actually camp. It does not rate brands or invent lab results—check manufacturer heat and care instructions for any piece you buy. Pair choices with camp kitchen basics so the rest of the kitchen bin matches.
Start with stove and group size
- Canister or liquid-fuel backpacking stove: usually one pot that nests with a lid, sometimes a small fry pan. Volume often lands around one to two liters for one or two people.
- Two-burner camp stove: room for a saucepan and a skillet at once—great for families.
- Fire or grill grate: needs cookware rated for that use; not every nonstick coating belongs over open flame.
Count mouths and courses. Two adults eating pasta need more water volume than one person eating freeze-dried meals. If you regularly cook for kids who want a second pan of eggs while pasta boils, plan for two burners and two vessels rather than forcing everything through one tiny pot.
Materials at a glance
Aluminum
Light, heats quickly, affordable. Can hot-spot on strong burners. Often paired with a nonstick coating in camping sets. Easy to dent if you pack it loosely under heavy gear.
Stainless steel
Durable and easy to clean aggressively. Heavier. Can stick without oil or careful heat. Good when you expect hard use and scrubbing with sand or a rough sponge.
Hard-anodized aluminum
Tougher surface than plain aluminum in many consumer lines. Still follow the maker’s utensil and heat guidance. Often a middle path for car campers who want lighter than cast iron.
Cast iron and carbon steel
Excellent for car camping and fire cooking. Heavy. Needs seasoning care and dry storage. Poor choice for most backpacking. A small skillet can still earn its trunk space for weekend breakfasts.
Titanium
Very light for backpacking. Can be pricey and sometimes runs hotter at the base. Often thin-walled. Great when every ounce matters and meals are simple boils.
Nesting sets vs mixing pieces
Nesting sets save space and usually include lids that double as plates or fry pans. They are ideal when pack space matters. Mixing pieces from home (a favorite skillet plus a cheap pot) works for car camping if you accept bulk. Bring lids—boils finish faster and use less fuel. See camp stoves and fuel for how lid use affects fuel.
Label the kitchen bin so the nesting set does not get scattered across three tote bags. A simple stuff sack for the backpacking set keeps soot off sleeping gear.
Sizes that usually make sense
- Solo backpacking: ~1 L pot; skip the fry pan unless you fry often.
- Two people: ~1.5–2 L pot; optional small skillet.
- Family car camp: 2–4 L pot plus a 10–12 inch skillet; maybe a kettle for coffee and dishes.
Measure your stove’s support arms. An oversized pan can tip on a tiny backpacking burner. If you cook chili for a group, a taller pot often beats a wide shallow one for boiling water volume without a huge footprint.
Nonstick coatings
Nonstick makes eggs and cleanup easier. Trade-offs include utensil limits (often wood or silicone only), heat limits, and eventual wear. Do not use damaged nonstick over high flame. If you scrub hard or cook on fire often, stainless or cast iron may frustrate you less long-term. Always follow the product’s care sheet. Pack a dedicated soft sponge so someone does not grab the metal scrubber by habit.
Lids, handles and pour spouts
- Tight lids save fuel and keep grit out.
- Bail handles or fold-away grips matter for packing; check that they stay cool enough to touch or bring a pot grabber.
- Pour spouts help with pasta water and coffee.
- Clear lids are nice but scratch; not required.
Practice using the pot grabber at home once. Dropping a full pot of boiling water is a safety problem, not just a dinner problem.
Utensils and extras worth packing
Long spoon, spatula suited to your coating, pot grabber, small cutting board, sharp knife with a sheath, and a bidirectional approach to cleanup gear covered in dishwashing at camp. A mug that nests with your pot reduces clutter. A tiny bottle of cooking oil in a leakproof vial beats improvising with butter wrappers in hot weather.
Cleanup reality check
Fancy multi-piece kits look great in product photos and terrible when you are washing five items in a two-quart wash basin at night. Prefer fewer pieces you will actually use. Burned-on cheese in a nonstick pan is still a chore at a dark picnic table. Heat a kettle of wash water while you eat so dishes are not tackled with ice-cold creek water only.
Car camping upgrades
If weight is free, consider:
- A real skillet for breakfast
- A kettle dedicated to hot water for drinks and dishes
- A Dutch oven only if you know fire regulations and have the skill/time
Keep raw and cooked tools separate when handling meat from the cooler. Color-coded cutting boards help if multiple cooks share the table.
Backpacking minimalism
Many people thrive with one pot, one spoon, and meals that only need boiling water. Add a fry pan only after a few trips prove you miss it. Every ounce and every dirty surface costs time at camp. Freeze-dried meals and couscous-style dinners keep the cook set tiny; that is a valid choice, not a failure of “real cooking.”
Care between trips
Dry thoroughly before storage. Light oil on carbon steel or cast iron if the maker recommends it. Bag sets so soot does not stain the rest of the kitchen bin. Inspect coatings and rivets occasionally. Store lids with a paper towel between nesting pieces if they scratch easily.
Decision checklist
- Car camp or backpack?
- How many people, and do you cook real meals or mostly boil water?
- What stove will you use?
- Will you accept nonstick care rules?
- How much scrubbing are you willing to do at night?
- Does the set fit in the bin or pack you already own?
Common mistakes
- Buying a huge nesting kit “for someday” and washing unused pieces every trip
- Using metal utensils on coatings that forbid them
- Oversized pans on undersized stove supports
- Forgetting a lid and burning through fuel
- Packing cast iron for a long approach hike
Bottom line
Choose the smallest set that covers your usual meals on your usual stove. Master that before adding specialty pans. Tie cookware choices to camp kitchen basics and a realistic dishwashing plan so gear stays useful through the whole season. For weekend packing context, see weekend backpacking packing list and first car camping checklist.
Filter camp kitchen by spec → Compare up to 3 →
Related guides
- Camp Kitchen Basics: Stoves, Cooking and Cleanup
- Camp Stoves and Fuel Basics
- Dishwashing at Camp
- Packing a Cooler for Multi-Day Trips
- First Car-Camping Trip Checklist
General guidance from CampTier, based on manufacturer instructions and common outdoor practice. We don’t claim hands-on testing. Always follow your gear maker’s care and safety instructions. See our safety notes.