
Repairing sleeping pad punctures
How to find and patch sleeping pad punctures in camp and at home—soap-bubble tests, patch kits and when a pad needs retirement.
By the CampTier team · Updated 2026-10-15 · About 2 min read
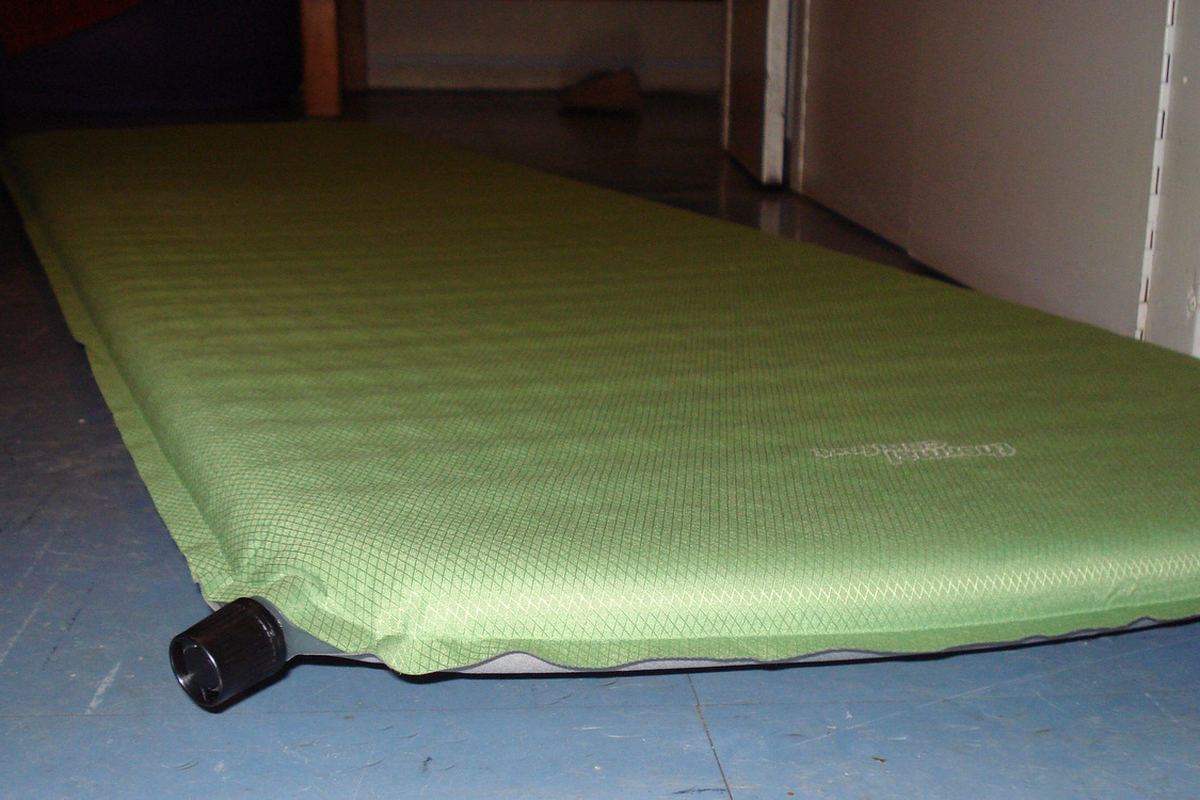
Find the leak before you squeeze glue
Inflate the pad and listen. Then use a mild soapy water wipe to watch for bubbles. Mark pinholes with a pen. Check valves separately—some “leaks” are open valves or debris in the seal. Work in daylight when you can.
Field patches
Follow your pad maker’s kit instructions. Clean and dry the area, apply the patch with firm pressure and give it cure time before sleeping on it. A backup closed-cell foam pad turns a failed air pad into an inconvenience instead of an emergency—especially in cold where R-value matters; see sleeping pad R-values.
Common puncture sources
Thorns, tentless sites with litter, pet nails and packing pads against sharp stove parts. Clear the groundcloth. Keep pads away from knife work in the kitchen.
Home repairs vs warranty
Some makers offer factory repair. Document the damage. Self-repair on a blistered, delaminating pad may be temporary—retirement can be safer than another cold night.
Storage habits that prevent soft pads
Store pads inflated or per maker guidance, away from heaters. See gear storage between seasons. Long compression can stress baffles.
Matching the rest of the sleep system
A patched pad still needs a suitable bag—see matching bags and pads. Repair does not raise R-value.
Kit list
- Maker-compatible patches and alcohol wipe
- Pen for marking holes
- Tiny bottle of soap for bubble test
- Backup foam pad on cold trips
Bottom line
Locate leaks carefully, patch with clean dry technique, carry backup insulation in the cold and retire pads that will not hold firm.
Valve-specific troubleshooting
Some valves click differently when debris is present. Disassemble only as the maker allows. A single sand grain can hiss all night and look like a puncture in the baffles.
Cold-weather patch realities
Adhesives cure slower in the cold. Warm the pad and patch kit in a jacket before applying. Sleep on backup foam while glue sets. R-value gaps matter—see matching bags and pads.
Patch inventory
Carry at least two patches and a wipe. Ten-year-old dried glue tubes fail; refresh kits yearly with gear storage season changes.
Ground selection habits
Move pine cones, inspect for glass near road camps and keep dogs off air pads with clean nails. Prevention beats midnight bubble tests.
When foam is the primary pad
Closed-cell foam can be your main pad on risky terrain. Air pads then become comfort layers. Hybrid systems are respectable, not “cheating.”
Filter sleeping bags & pads by spec → Compare up to 3 →
Related guides
- Sleeping Pad R-Values: How Warm Is Warm Enough
- How to Match a Sleeping Bag and Pad for Cold Nights
- How to Pack and Store a Sleeping Bag
- How to Store Camping Gear Between Seasons
- Camp First-Aid Kit Basics
General guidance from CampTier, based on manufacturer instructions and common outdoor practice. We don’t claim hands-on testing. Always follow your gear maker’s care and safety instructions. See our safety notes.