
Hiking Boot Care Basics
Clean mud off, dry boots the right way, condition leather when needed and know when resoling beats replacing. Small habits extend boot life.
By the CampTier team · Updated 2026-10-15 · About 5 min read
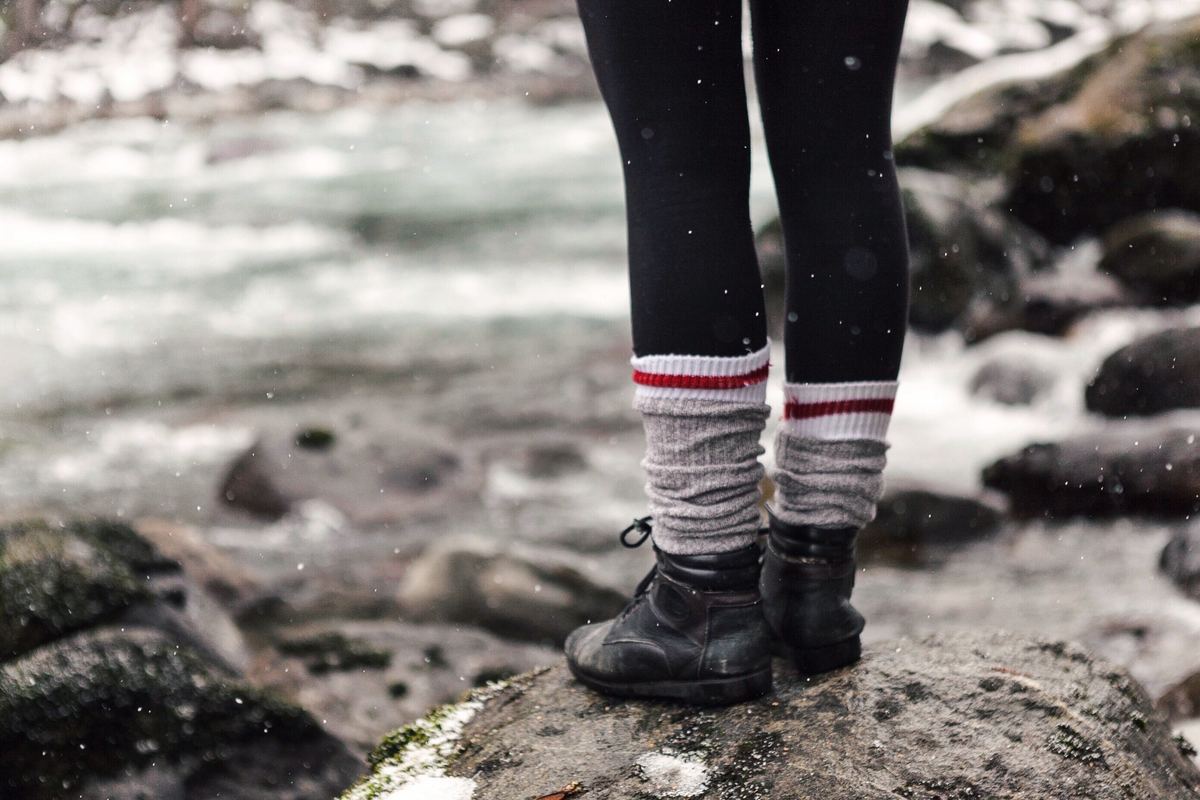
Clean after muddy trips
Dried mud holds moisture against leather and fabric and abrades stitching. When you get home:
- Knock off loose dirt.
- Brush with a soft brush; use lukewarm water and mild soap made for footwear if needed.
- Remove insoles and laces to dry separately.
- Stuff with newspaper to pull moisture; change paper as it dampens.
- Air-dry at room temperature—never against a campfire, radiator or high-heat dryer.
Leather conditioning
When leather looks dry or pale, apply a conditioner or wax the manufacturer recommends. Heavy grease on fabric-membrane boots can hurt breathability—use products meant for your boot type. More detail: cleaning and waterproofing.
DWR on fabric boots
When water stops beading on fabric panels, clean first, then restore durable water repellent (spray or wash-in products designed for footwear/gear). Dirty fabric looks like failed waterproofing when it’s really just contaminated.
Storage
Store dry boots in a closet with room for air. Keep them away from mice (they love salty sweatbands). For seasonal storage tips across all gear, see gear storage.
Midsoles and outsoles wear out
Foam midsoles pack out; rubber outsoles smooth. If the upper is solid but the sole is gone, a resoling shop may save quality leather boots. Cheap boots often aren’t worth resoling.
Field fixes
Duct tape over a delaminating toe cap is a weekend fix, not a permanent one. Carry a bit of repair tape on long trips. Treat blisters early (break-in guide).
What shortens boot life
- Drying on high heat
- Storing wet
- Never cleaning salt and mud
- Using the wrong oil on membrane boots
- Using boots as yard-work shoes until the hiking tread is gone
FAQ
How often should I reproof boots?
When water stops beading after cleaning—maybe a few times a season for wet-climate hikers, less for dry-climate use.
Can I machine-wash hiking boots?
Usually no. Follow the brand’s care label; most want hand cleaning only.
Specs for boots we list live on Boots. Care keeps waterproof claims working longer.
A simple post-hike routine
Make it a habit after every muddy or wet hike:
- Bang boots together outside to remove dirt.
- Rinse or brush off mud.
- Remove insoles and loosen laces.
- Dry at room temperature, stuffed with paper.
- Check soles, stitching and eyelets.
That takes five minutes and prevents most problems.
Insoles and odor
Insoles absorb sweat and can start to smell. Wash removable insoles by hand with mild soap and let them air-dry. Replace insoles when they’re compressed or worn. To reduce odor, dry boots thoroughly after every hike and rotate between two pairs of shoes if you hike often.
Laces
Check laces for fraying where they run through hooks. A broken lace on a trail can be patched with cord, but carry a spare on long trips. Replace laces at the first sign of wear.
Salt and winter use
Road salt and de-icing chemicals can stain and dry out leather. Wipe boots with clean water after walking through salted areas, then let them dry and condition leather if needed.
Stitching and glue
Look where the upper meets the sole. If you see separation, a cobbler or the manufacturer’s repair program may be able to fix it. Small separations can grow quickly on the trail.
Warranty and repair programs
Many brands offer warranties against manufacturing defects and some offer repair services. Normal wear usually isn’t covered. Check the brand’s official site for current details.
When to replace
Replace your boots when:
- The tread is worn smooth and grip is poor
- The midsole feels flat and you get new aches
- The upper is torn beyond repair
- Waterproofing has failed and can’t be restored
Good care stretches the time between replacements. Our cleaning and waterproofing guide covers treatments in more detail.
A care kit to keep at home
- Soft brush and an old toothbrush
- Boot or gear cleaner
- Waterproofing product suited to your boot material
- Leather conditioner (for leather boots)
- Spare laces
- Newspaper for drying
On the trail
- Knock off mud at breaks on very muddy days.
- Avoid drying boots next to the campfire.
- On multi-day trips, open boots up at camp and pull out the insoles to air them.
Know what your boots are made of
Care depends on materials, so start by checking the product page or tag. Look for:
- Upper material: full-grain leather, nubuck or suede, synthetic fabric, or a mix.
- Waterproof membrane: a breathable liner sewn inside the upper. If present, avoid treatments the boot maker warns against, because some can reduce breathability.
- Midsole: commonly EVA foam or polyurethane (PU). Both compress over time; some foam midsoles can also degrade with age even when stored.
- Construction: most modern hiking boots have glued (cemented) soles. Some leather boots are stitched and can be resoled by a cobbler.
Cleaning between hikes
Knock off dried mud by tapping the soles together, then use a soft brush and lukewarm water on the uppers. Avoid harsh household detergents unless the boot maker approves them; footwear cleaners are designed not to strip treatments. Rinse grit from the tongue gusset and the area around the laces, where sand works into stitching. Let boots dry at room temperature, away from heat, with insoles removed.
Managing odor and hygiene
Feet sweat, and boots absorb it. Let boots dry fully between uses and rotate between two pairs if you hike often. Remove insoles to dry them separately, and wash them according to their care instructions. Fresh, dry socks each day make a bigger difference than any spray. If your boots are wet for several days on a trip, open them up at night to let them air out as much as possible.
Small repairs that extend life
- Laces: replace frayed laces before they break on the trail. Carry a spare pair on longer trips.
- Eyelets and hooks: if a hook bends or loosens, a cobbler can often replace it.
- Rand and toe cap: small separations at the edge of the rubber can sometimes be fixed with a flexible footwear adhesive; follow the product’s instructions.
- Resoling: if your boots were designed to be resoled, a qualified cobbler can replace worn outsoles and sometimes midsoles. Check with the boot maker before buying a new pair.
See cleaning and waterproofing boots for step-by-step treatment.
Filter hiking boots by spec → Compare up to 3 →
Related guides
- How to Clean and Waterproof Hiking Boots
- Waterproof Hiking Boots: Membranes, Leather and When You Need Them
- How to Break In Hiking Boots Without Blisters
- How to Store Camping Gear Between Seasons
General guidance from CampTier, based on manufacturer instructions and common outdoor practice. We don’t claim hands-on testing. Always follow your gear maker’s care and safety instructions. See our safety notes.